If you haven’t read my previous post about the Vembu’s big free forever announcement, make sure you check it out! For small businesses or lab environments, having an option for forever free backup software is really cool. For medium and large enterprises, I’m sure that, if they try Vembu (like I did below), they will see that it’s easy to use, offers some great enterprise-grade features, and is a solid option for enterprise data protection (then purchase license with support).
In this blog, I wanted to go through my personal experience installing Vembu into my vSphere lab so you can see see the installation, backup, and recovery process for yourself. I’ve added all the screenshots I took to a slide show below but I’ve also inserted a few of the most important screenshots below (outside of the slideshow).
Vembu Overview
First you need to know that, despite the title of this post, Vembu isn’t just for backup of VMware vSphere. Vembu can backup physical servers, Hyper-V, individual files (or groups of files), as well as vSphere virtual machines (show in the screenshot below)-

In my case, I primarily wanted to test the vSphere backup/recovery functionality so that’s what I’ve tested and documented in this post.
Vembu also offers enterprise-grade features such as:
-
CBT enabled incremental data transfer using VMware VADP
-
Host level VMware Replication to offsite datacenters or Vembu cloud
-
VMware Hot-Add and SAN transport mode for LAN free data transfer
- Instant file recovery
- Quick VM recovery
- DR failover and failback
- Application explorers for Exchange, Active Directory, SQL, and Sharepoint
- VM converter for V2V, P2V, V2P and cross-hypervisor conversion
Sound good, huh? So how do you use it?
Installation and Backup Job Configuration with Vembu
I’m sure that a lot of you will want to give Vembu a try in your own vSphere (or Hyper-V infrastructure). Here’s how easy it is to do…
Since Vembu is a Windows application, you just need a Windows machine to deploy it (I used Windows Server 2012 R2 because I already had a VM available with that). It’s an easy download and no different than other Windows app installation (as you can see from the slideshow above).
Once installed, you’ll automatically start the Vembu server and web console. When you go to that web console, you’ll be prompted to login. Credentials? Don’t worry, until they are reset they are right there on the screen-
- username – admin
- password – admin

Once logged in, you’ll see the Vembu home dashboard where you can select what type of backup you want to perform – vSphere, Hyper-V, physical, or file-level (shown in the screenshot above).
In our case, we selected vSphere, added our vCenter Server, and selected the VMs that we wanted to backup (as you see below)-

From there we started the backup and monitored the backup.
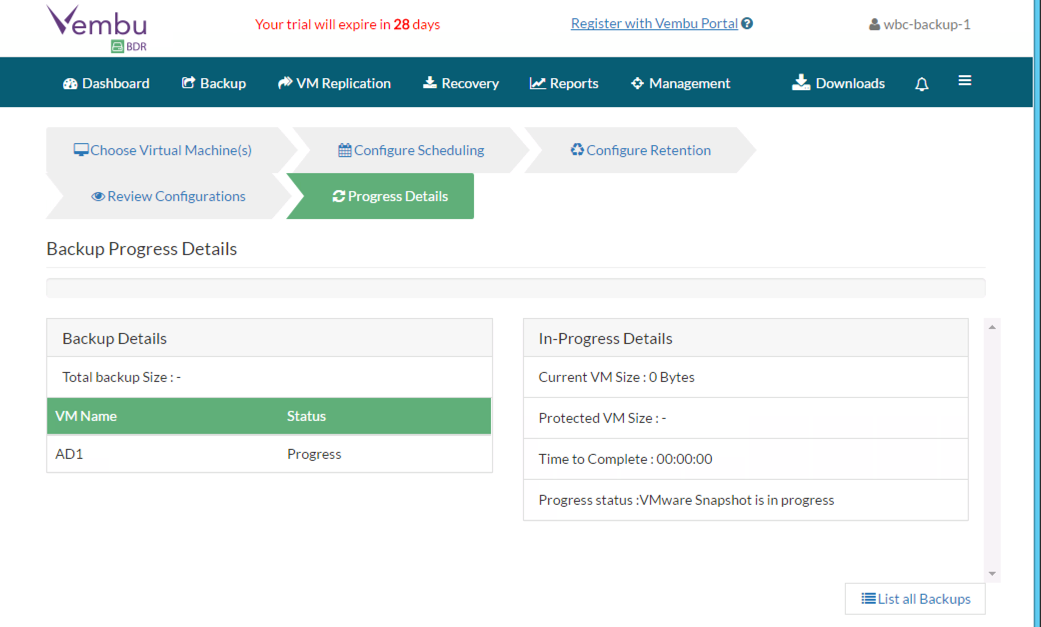
The backup didn’t take long and, once complete, any good infrastructure admin will, next, test a restore.
Recovering vSphere Virtual Machines with Vembu
There are multiple ways to get your data back from a Vembu backup. You could-
- perform a full VM recovery
- perform a quick recovery
- perform a file-level recovery
- or use one of the explorers to pull data out of an Exchange, SQL, AD, or Sharepoint VM backup
In my case, I performed a quick VM recovery. You can see all the screenshots in the slideshow above but the most important part is that the restore / recovery completed successfully and, yes, the VM worked fine!


Summary
Prior to writing this post and trying our Vembu for myself, I had never heard of them (to be totally candid). Once I learned more I was impressed with their enterprise-grade features and I was pleased at how easy it was to install, backup, and recover. I’ll be using the free forever version in my lab and plan to write more about Vembu in the future.
You can download Vembu and try it for yourself, here

 David Davis (CCIE #9369, vExpert, VCP, VCAP-DCA) has been in the IT industry for 20+ years. He has authored hundreds of articles, 10+ video training courses, and co-authored one book. Learn about David's certifications, video courses, and where you can find his content on our
{ 0 comments… add one now }